To use this method follow the steps below
Step 1 Export current pupil data
Click on 'Pupils' on the left-hand side to enter the pupil management screen.

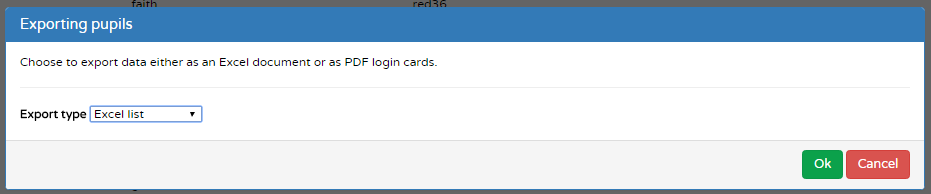
Click on the ![]() button.
button.
Choose to export data as an Excel list
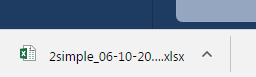
The excel file will be saved to your downloads folder. Usually you will see it at the bottom left of your screen.
Step 2 Open the file and update the information
Open the file in Excel. You might find it useful to sort the data by 'Classes' in order to update it. To do this you usually click on the 'Data' menu at the top then the 'Sort' button then select to sort by the column 'Classes'.

Note: The export will have exported all the fields of information but the only fields that are actually required are the pupil's name (either firstname and last name or full name) UPN or email and the Class.
Update the class names to the new classes.
Important: Leavers should be given the class name #Leavers
Once the file has been updated, save it.
Step 3 Import the new information
Click on 'Pupils' on the left hand side and then click on the ![]() button.
button.
Click 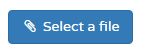 , locate the updated file and click Open. Make sure that the tick box 'First row is header' is ticked if your file has heading rows.
Click the ![]() button at the bottom right of the screen.
button at the bottom right of the screen.
Use the drop-down boxes to select the correct headings for the data

Click the ![]() button at the bottom right of the screen.
button at the bottom right of the screen.
The importer will analyse the data and inform you of the numbers of pupils to be updated.
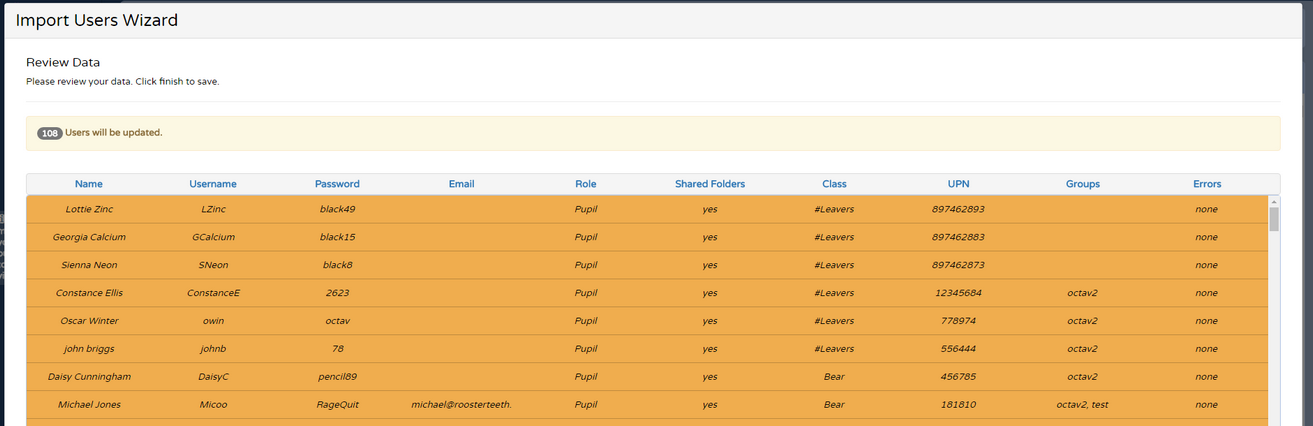
If you are happy with the changes, click ![]() to save them.
to save them.